Verde Headliner Refurb
08/27/06
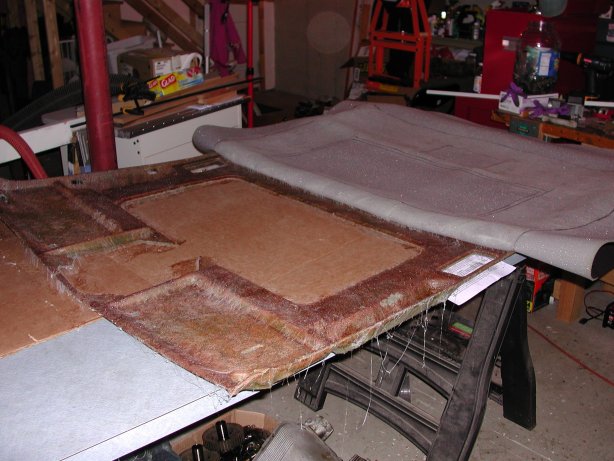
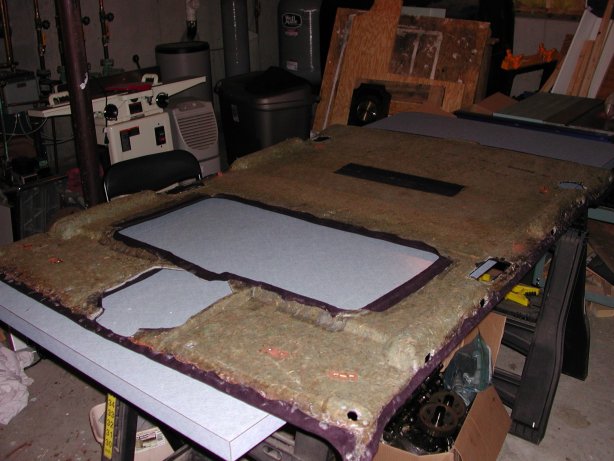
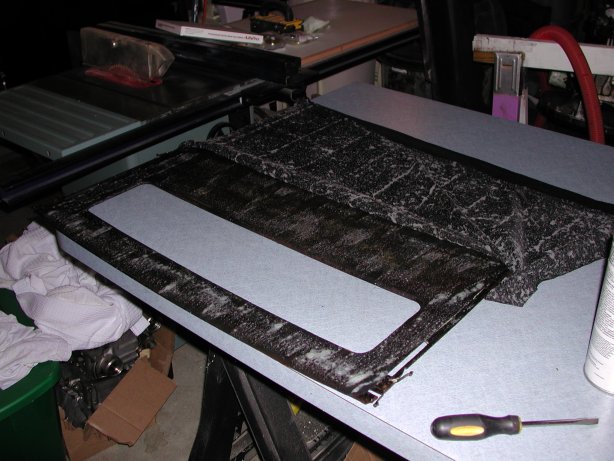
The fabric on the headliner in my Verde was starting to droop and I was getting the occasional dreaded "orange snow" from the decayed foam backing on the fabric. I was lucky enough to get another decent headliner that had been removed from a parted out Verde some time ago with thoughts of just doing a swap but it turns out the foam on that one was in even worse shape than mine so I decided to recover it since the backer board was in decent shape. I removed all the fabric and then uses a wire brush to loosen and remove as much of the foam remnants and adhesive as possible. Then I used a shop vac and vigorously scraped the backer while it was running which got more of the junk off. As a final step I put on a glove and rubbed my hand in circles all over the board which balled up yet more adhesive, and then vacuumed up that at well. Below is a picture of the cleaned backer board.

The headliner backer board with all the fabric and peanut butter foam goo cleaned off
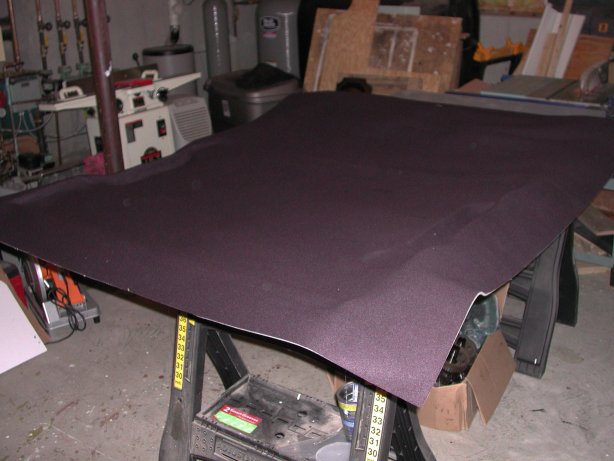
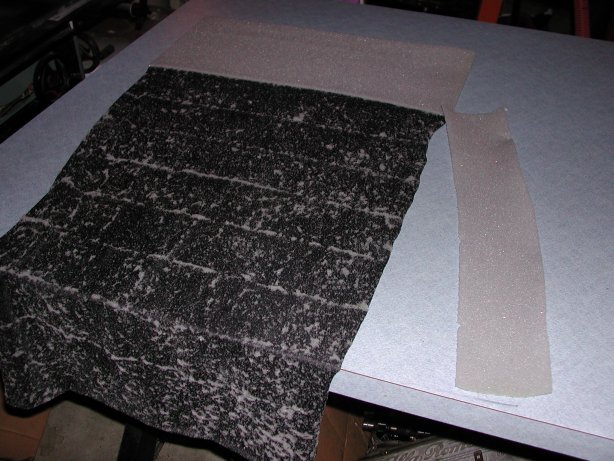
I poked around on the Internet looking for some replacement material and the OEM style Recaro is usually unavailable or extremely expensive so I took a trip down to the local fabric store (Jo-Ann fabrics) and found some headliner material (nylon backed with foam) in a few different colors at about $11/yd. I bought two yards of that and some high temp adhesive (check the instructions on the can, very few of the spray adhesives recommend using them on car headliners, in fact most say not to).

The adhesive I used and the headliner material folded back on itself (it's black)
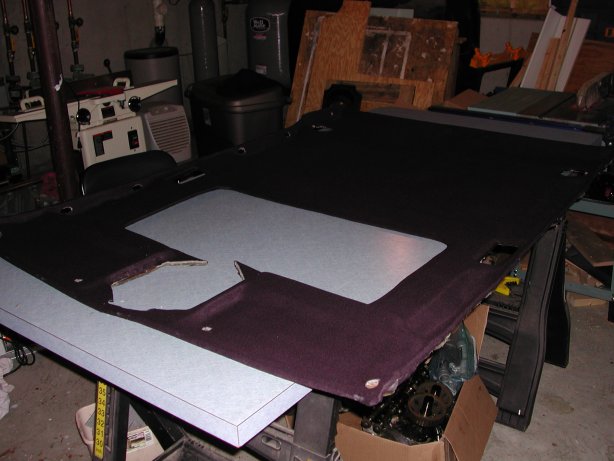
I laid the fabric over the backer board and traced it's outline so I would know where to limit the spray of the adhesive to. In the first session I was not going to worry about the edges wrapping up and over as I was going to need to trim it and peel some foam off for that.
Traced the outline of the backer board onto the foam backing
I don't know what I was expecting for how the adhesive would look but it certainly wasn't spider webs! I decided to go for the "extra strength" application mentioned on the can. One coat, wait 1-2 mins till tacky, then recoat, wait another min and then stick material to backer board. You coat both the backer board AND the headliner material foam.
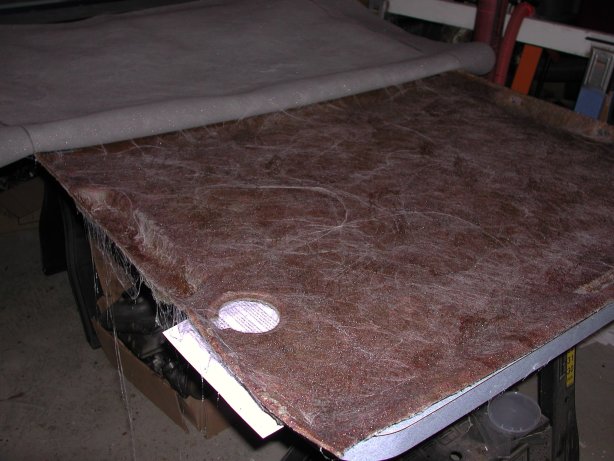
Looks like spider webs
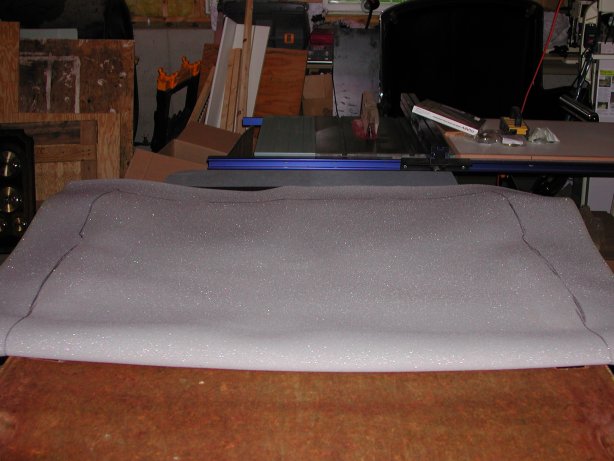
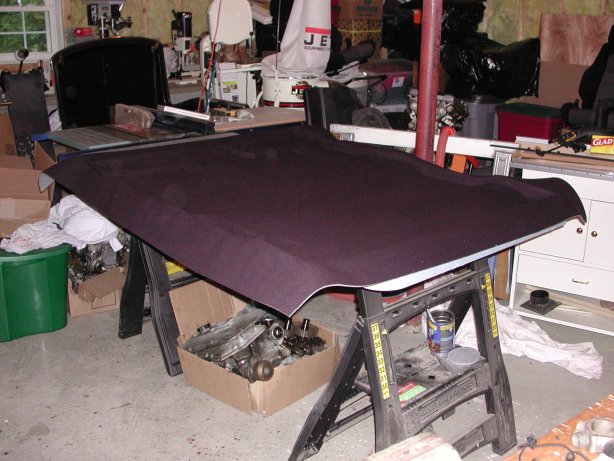
Here's a shot after pressing down the first half. It's a little tricky getting the material into the indented areas but not to bad. Work from the inside towards the edges and do it pretty quickly! The stuff I used seemed to set pretty quickly so no time to monkey around moving the material.
Half glued on
Here's the other half with the adhesive sprayed on during the 1 minute wait until tacky. Make sure not to spray any in the "hole" areas on the table or on the fabric as it will bond quickly and cause a major headache! I put some cardboard and paper under the hole areas to catch any overspray and removed them before pressing the fabric down. Also, just in case make sure to lift everything from the table right after pressing the fabric on to make sure it doesn't stick to the table!
Other half ready to go
Here it is all pressed on and drying for a bit. I noticed in this pic that my lens seems to have a few water spots on it or something :-(.
All glued on now
The pic below shows the excess fabric around the edges trimmed off. I left about an inch extra around all the edges to allow it to be wrapped around to the back after trimming the foam off.
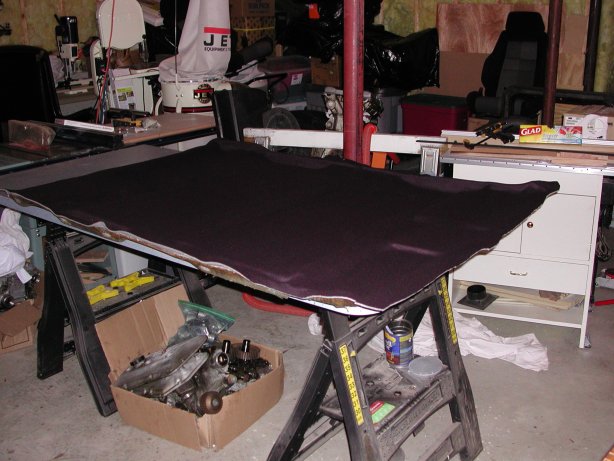
Edges trimmed off with 1 inch overhang left on
To get the foam off the 1 inch over hang I first tried it on a scrap piece. It helps that the blade on my utility knife was a little dull so that it didn't cut all the way through too easily. Just draw the blade lightly through the foam working in strips about 4 to 5 inches. You should then be able to grab one of the corners and fairly easily pull the foam off the fabric, go slowly and it will come off mostly in one piece if you cut deep enough. Be very careful no to cut through the fabric as you cut the foam or that will defeat the purpose!
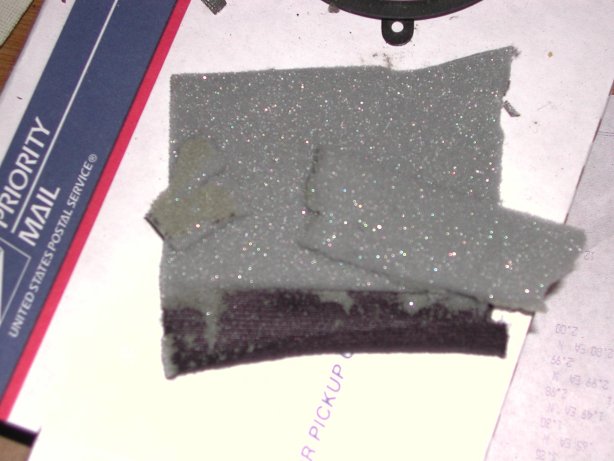
Removing the foam from a test piece
The pic below shows what you will end up with when the foam is removed from the overhang, the fabric will have a tendency to curl up.
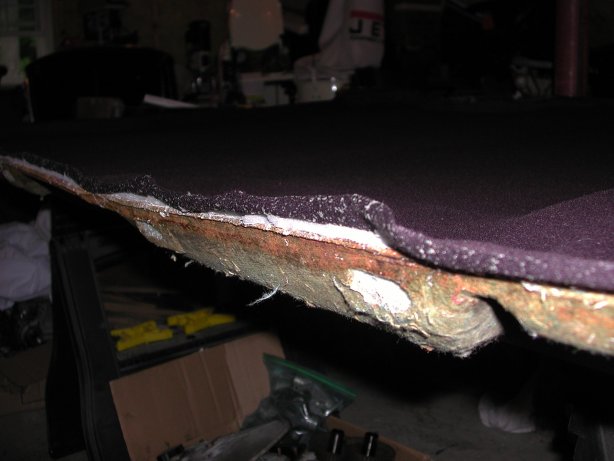
Close up of the fabric overhang with the foam removed
The pic below shows all the edges wrapped around to the bottom and glued on with the adhesive. I worked on about half the length of each side at a time. The reason for this is that the adhesive tends to get all over your fingers as you wrap the fabric around and press it on and you need to be really careful not to get any of the excess onto the part of the liner fabric you will be able to see in the car. So I did half of the length of a side at each time and then cleaned all the goo off my fingers before the next part.
Edges all glued on
Next I needed to do the cutouts for the sunroof and the overhead
console. Flip the headliner over and do the same thing. Cut all the
way through the foam and fabric around the outline of the holes leaving about an
inch overlap. Carefully trim off the foam and then snip at the corners so
it doesn't bunch up when you fold it over. Apply the adhesive and press it
down. You don't have to be as careful here as there is no part you will be
able to see once it is installed in the car.
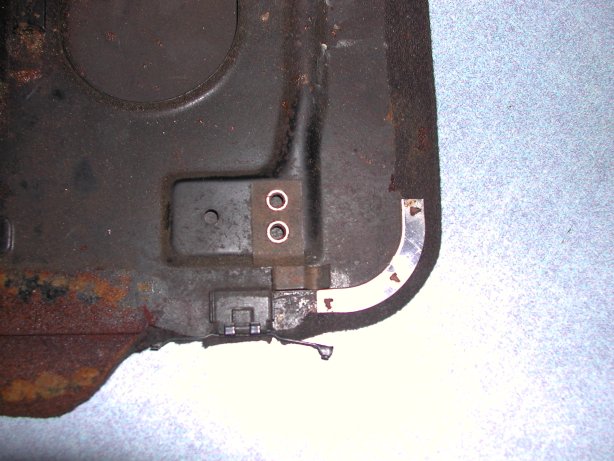
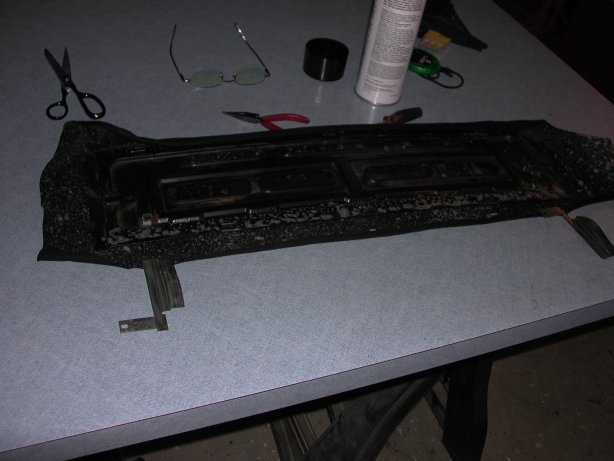
Also at this point I cut out all the various openings for the
lights, mirror holes, grab strap holes, etc. Those we just cut flush with
only about 1/4 inch overlap so that the various plastic pieces would fit nicely
in but the edges of the foam would not show. You can also see the two
(looks like one) pieces of velcro on the backer board. One of mine was
pretty much falling off so I removed the staples, flattened it out, and used the
same adhesive to stick it back on.
Cutout edges all glued on now
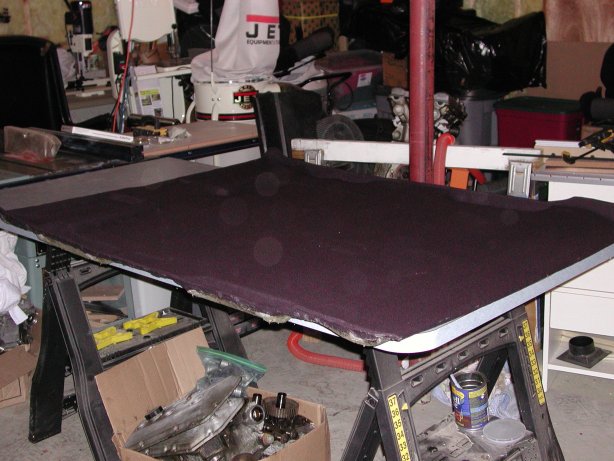
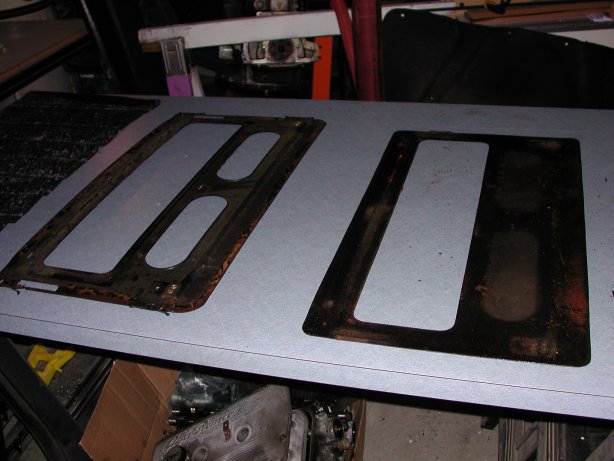
Here is the final product, I installed the little metal liners into the four light holes. I let everything dry overnight but it was probably ready to be installed within 30 mins or so but just to be safe.
Ready to be installed!
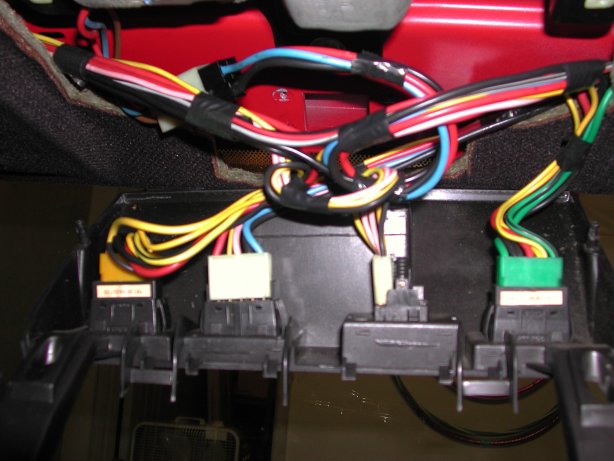
Here are a couple pics I took of the lights and center console connections as I knew I wouldn't remember which wires went where.
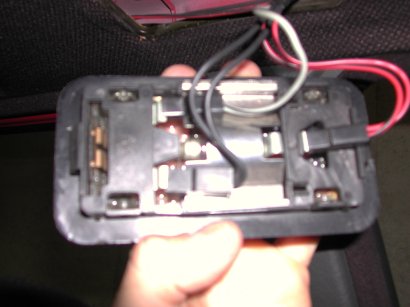
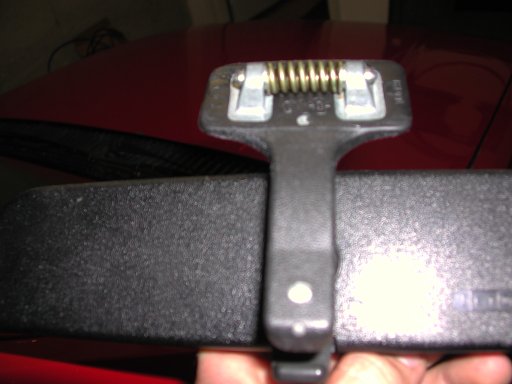
Here is a pic of the back of the mirror, mine popped off pretty easily, was a bear to get back in!
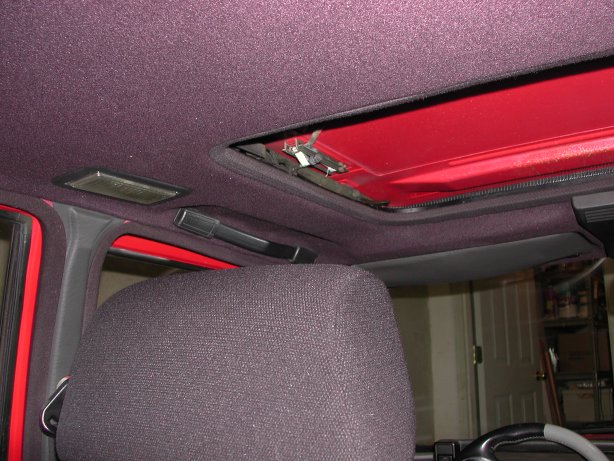
Now some shots of the liner as installed (I still have to recover the sunroof part).

Looking towards the rear passenger side
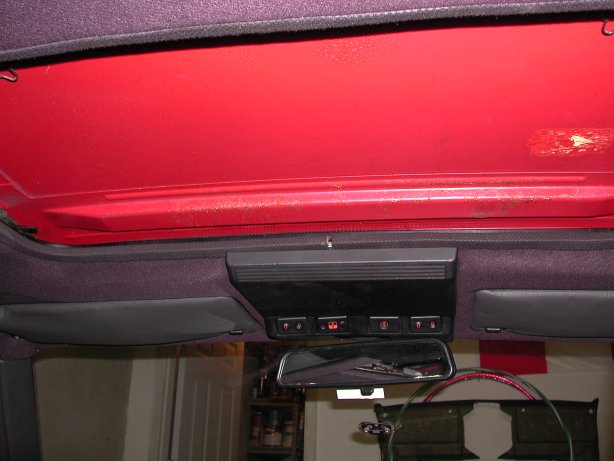
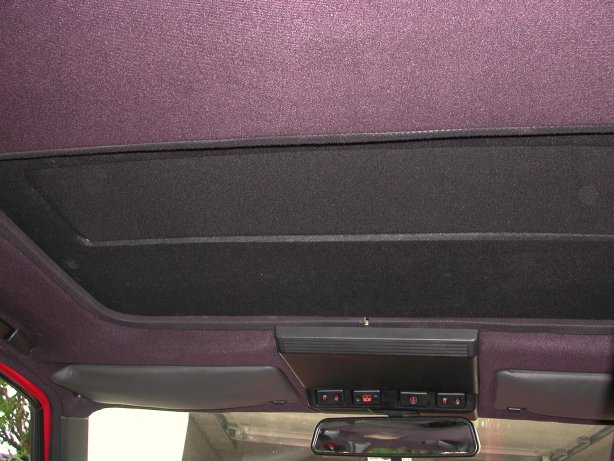
Center console area (you can see the old headliner in background)
And the drivers side front
Here is the process I used to remove the old and install the new
headliner. All in all, not counting the time to recover the backer board,
it took me less than 30 minutes to remove the old headliner and install the new
one.
* Remove the two screws on plastic cover at rear center just
above rear window.
* Remove the single screw on metal backing under that plastic cover
* Pull off two small rectangular plastic covers on each side right after
transition from rear to side of car. Under those plastic covers are u-shaped
metal brackets, each with a screw holding them in.
* Remove the four screws for each of the handles above the doors, the little
covers open from the inner towards the outer part of the handle, use one of
those tiny screwdrivers to pry them open, careful not to mark the plastic.
* Remove the two screws at the pivot mount for each sun shade (to get the
sunshade out you have to rotate it at an angle)
* Remove the single screw at the clip end of each sun shade
* Pull off the sunroof motor cover
* Pull off rear view mirror
* Remove the four screws holding in mirror mounting bracket
* Remove the two nuts and two screws holding in roof console (where the front
window and sunroof buttons are)
* Doing this carefully should end up with headliner resting on the seat
headrests, be care to not let it bend too much.
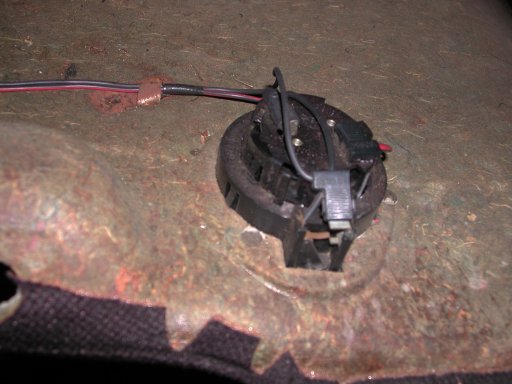
* I then pulled the two rear round and the two rectangular lights out of their
metal brackets in the headliner and disconnected their wires (after taking a pic
so I'd remember which wires went on which spades)
* Bend back the metal clips holding the wires to the backer board
* Slowly lower the front seats towards the rear of the car (like you are going
to sleep in them)
* Once they are all the way down you can carefully (with a little bending) get
the headliner out of the front passenger door
For reinstallation I put a plastic garbage can on the center arm rest to hold
the front up and then reattached stuff from the rear forward (so actually in the
order I took it off).
After this it turns out I didn't have enough material left over to cover the
sunroof part so I had to go back to the fabric store to get another yard.
I got lucky, all they had left was one yard and it had a couple creases in it so
they sold it to me as a remnant for half price :-). This will be a little
more challenging because I'll need to remove all of the foam backing as there is
not enough clearance for it to slide properly if the foam is still on.
To be continued...
09/12/06 - Finally getting around to putting the rest of the pictures in.
Here are the shots of finishing off the sunroof portion.
First I needed to peel the foam backing off the fabric as it was too thick with
it on and it would jam up when sliding open the sunroof.
Peeling foam off fabric
Next is a shot of a couple of the clips holding the corners of the fabric onto the sunroof part, get a little screwdriver and pry the little triangles up and lift off the corner piece. To get the sliding guides off just pry it up.
Corner clip & slider piece
Next I cleaned up the plastic backing piece in preparation to glue it to the metal portion of the sunroof piece.
Plastic piece cleaned and ready to be glued on
Here it is glued on with the same adhesive (actually I ran out of the original stuff, this was some 3M stuff I had laying around), have some of my spare parts containers and my cordless drill on top to keep it down securely.
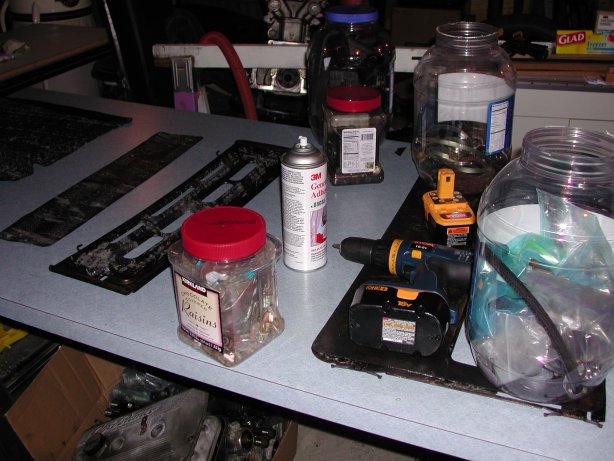
Glued on
OK, now time to glue on the fabric. Don't worry about cutting out the interior bit until the rest is dry. Here you see the glue on the plastic piece. Once that is dry flip the whole thing over and cut around the edges leaving around a 1 inch overhang. Before you put glue on make sure to push the little metal triangles in the corners through the fabric as it would be tough to do once all gooey with glue! You'll have to pull off the four sliding guides and cut little notches out of the fabric for them. I left just the smallest bit to hang over them too so they would help hold down the fabric as well.
Fabric ready to be glued on
Once that is done I moved on the to smaller flip up piece. Same drill, just pull off the two metal pieces, and cut two small holes for the pivot piece to go into (you can't really see that in the pic). The smaller plastic piece that goes with this was glued on, then the fabric, same deal as before.
Fabric ready to go on popup piece
All done and installed! Make sure to put the sliding piece in the correct way, I first had it in backwards! The weird thing is in the picture below the fabric looks like it is two different types, but it isn't. When you look at it in the normal light they look exactly the same. Ah the mysteries of flash photography :-).
Installed, fabric really is the same colour, stupid flash!
That's it for this project, I hope you find this useful. All in all
this project turned out to be much easier than I expected. I'm sure I
could have gotten a perfect one if I took it to a professional but that would
have cost at least three times as much or more and non of the self satisfaction!
Vene Vidi Vici (at least this one...)
Kevin
11/17/12 Update: The headliner refurb has held up really well. No sagging or anything and no
issues even when the car was out in 100F+ weather.