Sunroof Delete
09/26/14
I have never liked the sunroof in my Verde. It barely works and I never use it.
It rattles annoyingly all the time and it takes up a critical extra inch or two of
headroom so my head is always rubbing against the headliner. What was even worse
was how far I had to lean the seat back when wearing a helmet while on the track!
After putting up with this for 9 years, this summer (2014) I decided it finally had
to go. I got a couple estimates for a shop to fill it in that were in the $1,000 range
which just wasn't worth it (that was just to fill in the hole, nothing else, no filler,
no paint, no parts).
I had research what others had done on BMW's and the like numerous times in the past.
Most of these had fiberglass inserts that could be added to seal it off but it still
looked like the car had a sunroof, which wasn't that big a deal but they only made them
for high volume cars like the BMW's, nothing for Alfa's. Since this was mainly a
street driven car I didn't want to go the route of just riveting on some steel like
we did on our 24 Hours of LeMons Verde so I had to find another way.
The final push to actually make this happen came when I read a thread on the AlfaBB
where another Alfisti named Anthony had a shop fill his in while doing some other bodywork:
http://www.alfabb.com/bb/forums/milano-75-1985-1993/310273-wanted-share-my-verde-restoration.html
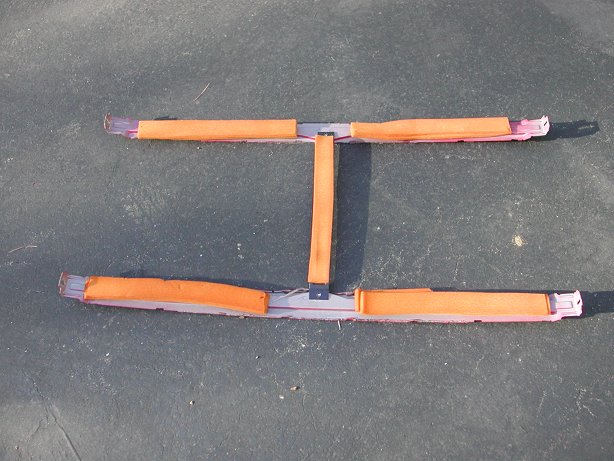
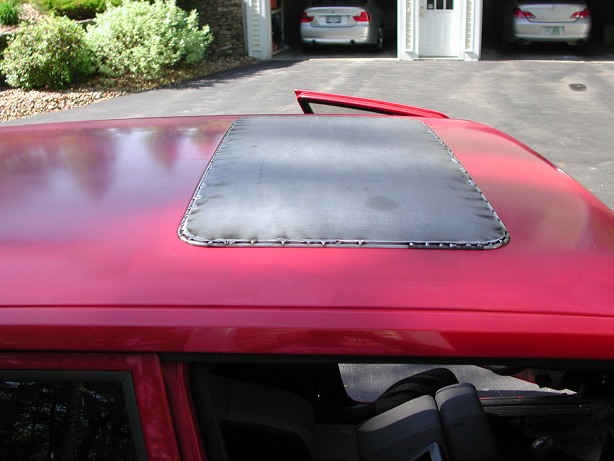
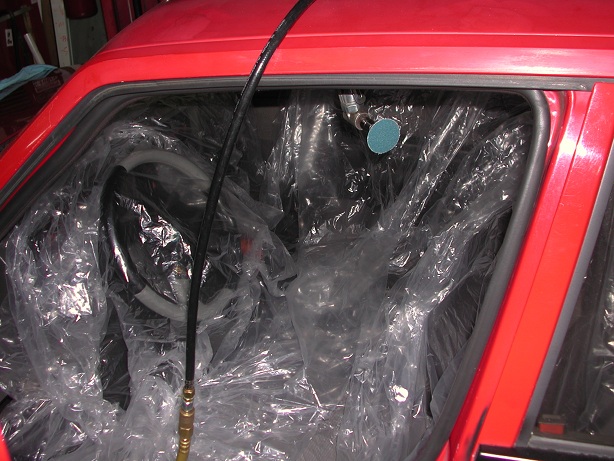
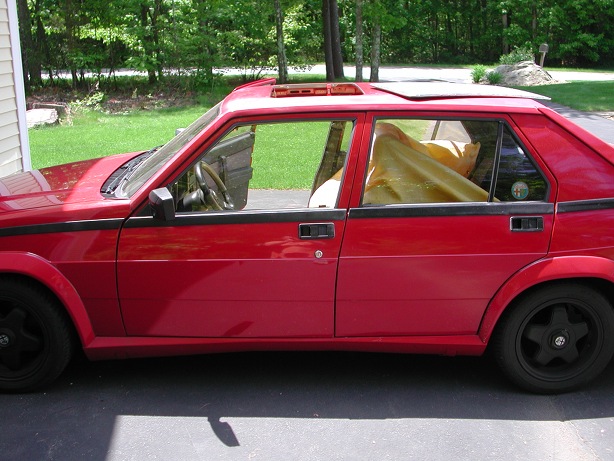
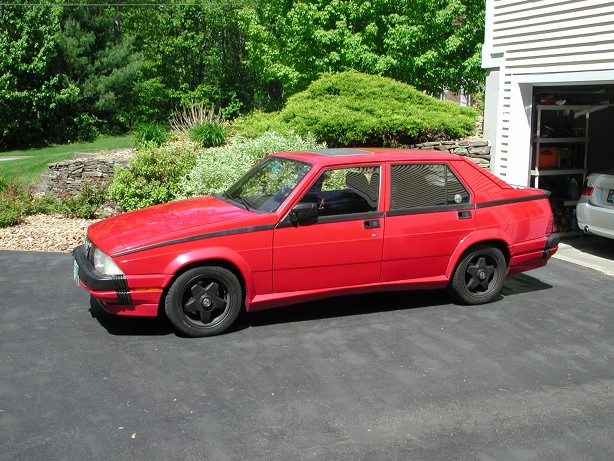
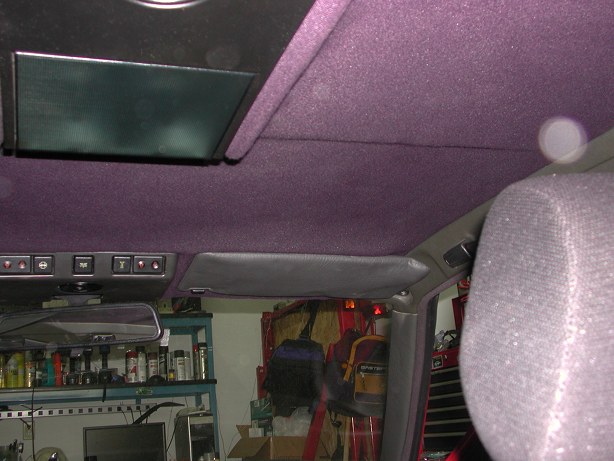
I also took the opportunity to remove the tracks for a roof rack that one of the PO's
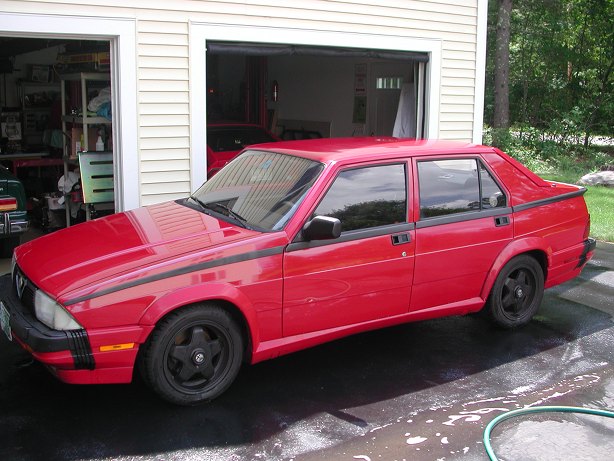
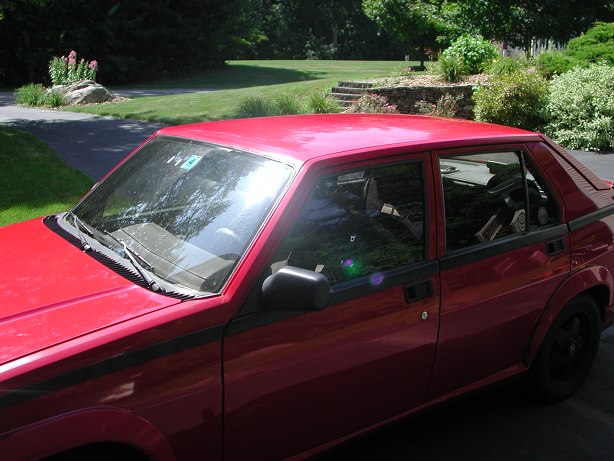
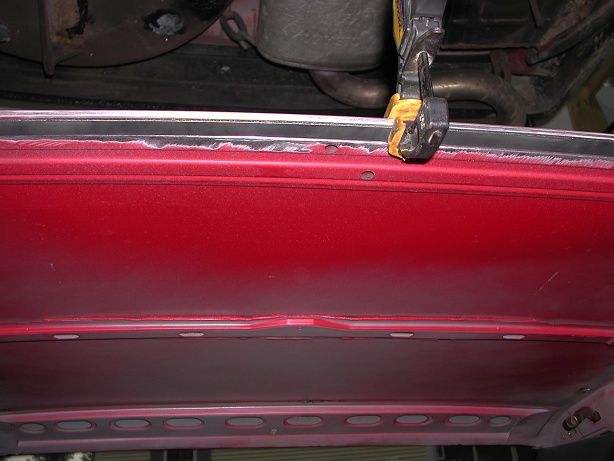
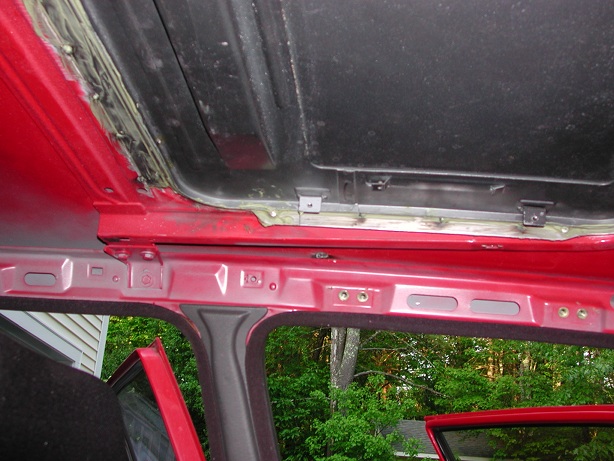
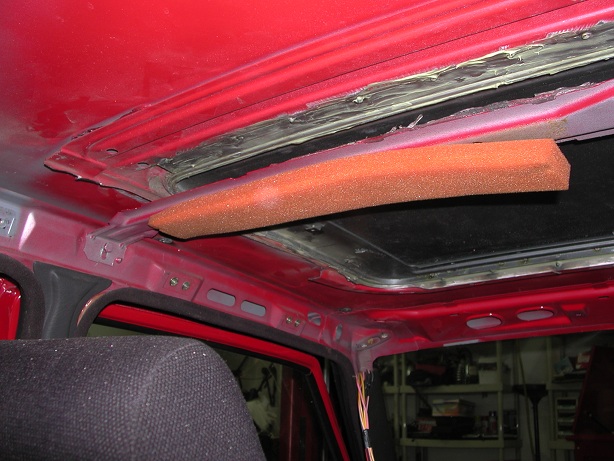
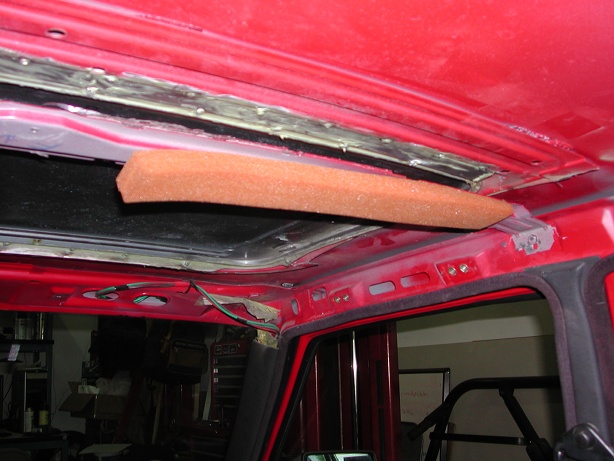
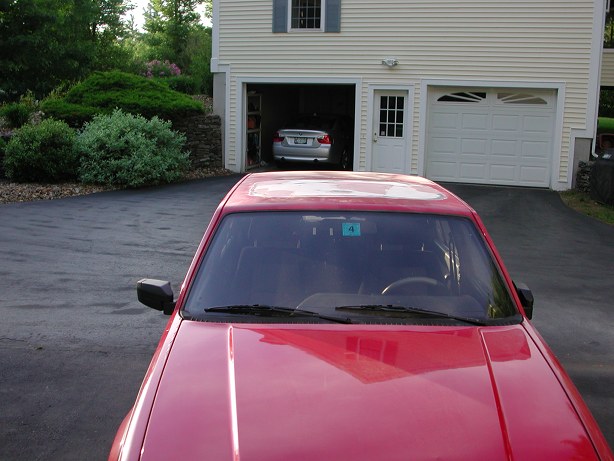
had put on the car, for which I had none of the parts. I don't have a "before" picture
that has a good shot of the sunroof so this one will have to do:
Before starting this project you need to acquire some bits from a non sunroof car, hopefully
a local one as the biggest part (the non sunroof headliner) would be almost impossible to ship.
Quite a number of the bits are the same so you can reuse those from your car. The important
ones to source are:
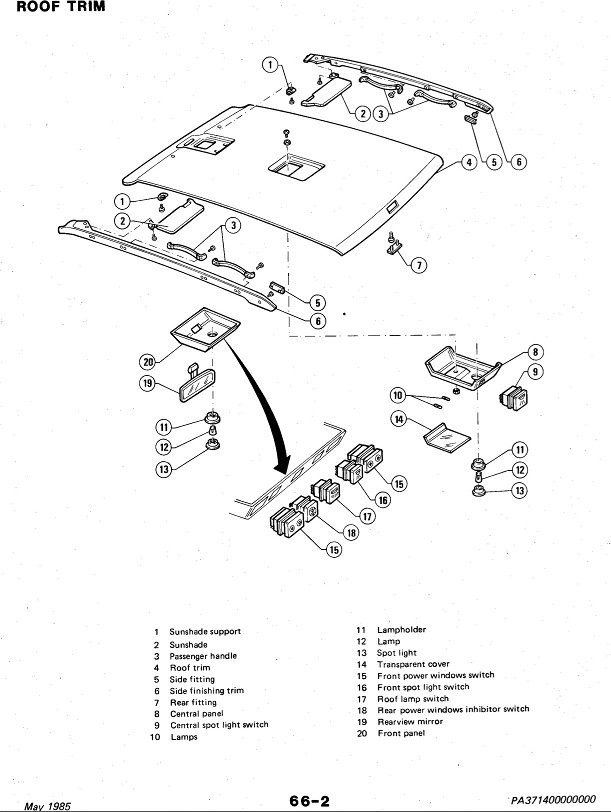
- Headliner
- #6 (the sunroof headliners don't have these, you need one for each side)
- #20 + the buttons (a couple of the buttons are the same but a couple are different)
- Try to get the wiring harness that goes to all the buttons and lights as well, there are some differences from the sunroof cars
- #8 (overhead light and all its associated parts)
- #5 (two of these)
- #7 (one of these)
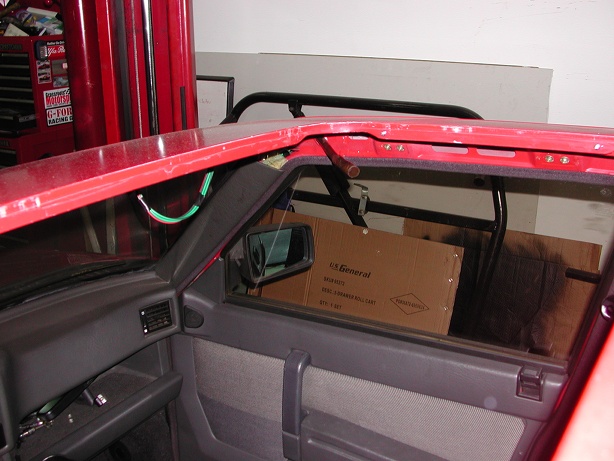
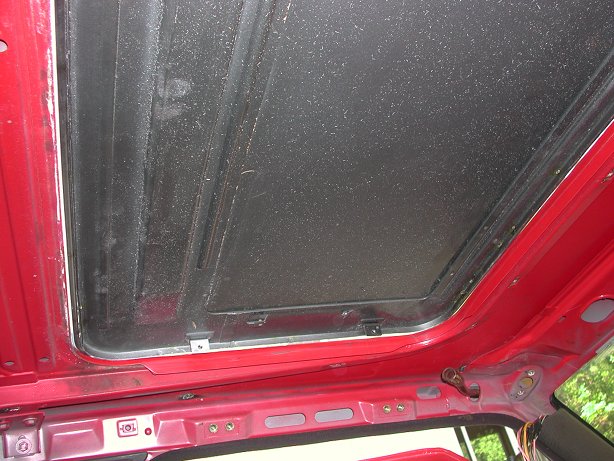
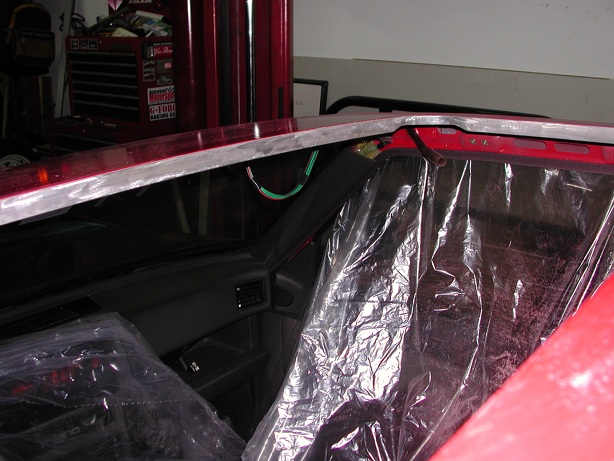
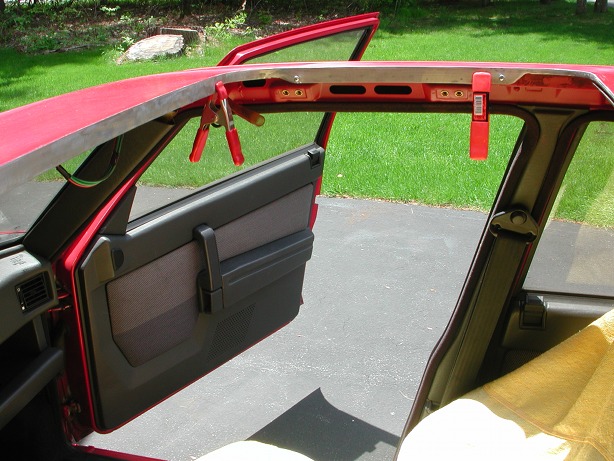
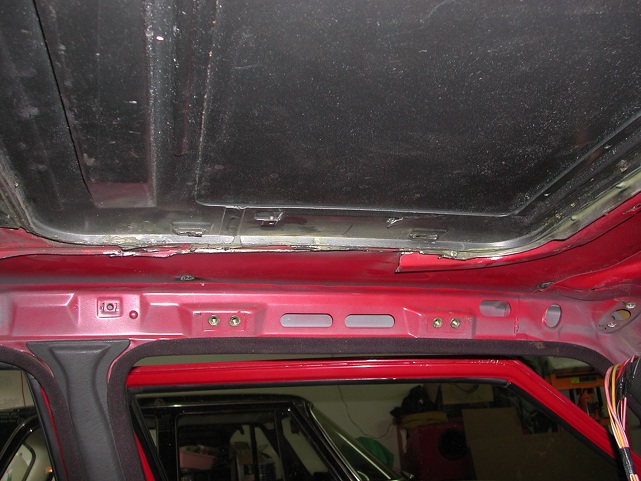
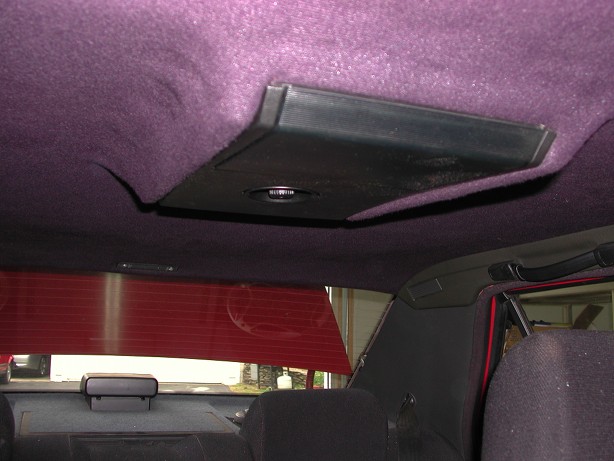
- In addition to these pieces you should also source the H-bracket that is attached to the roof sheet metal (see 2nd picture)
- There should also be a little square backed bolt that attaches to the H-bracket that the light screws to, get that too
If you can't source locally the two rivets can be drilled out to make this easier to ship
Now that all the headliner bits have been sourced we can move on to the next phase.
First thing to do is to get the headliner out. If you don't know how to do that then
check out my write up of the headliner refurb I did years ago:
http://www.alfamilano.com/headliner-replace.html
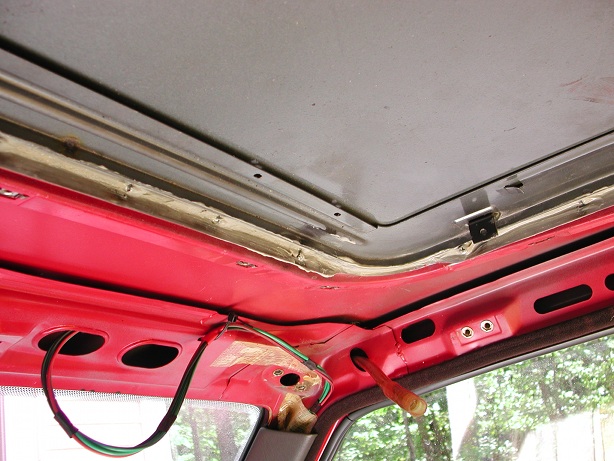
Once that is done you need to remove the whole sunroof panel. That is pretty easy to
do. Detach the drain hoses from all 4 corners and unscrew a bunch of bolts, watch your
head, it weighs quite a bit!
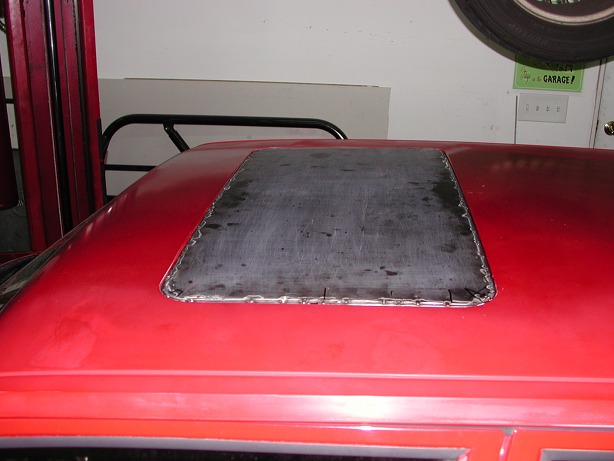
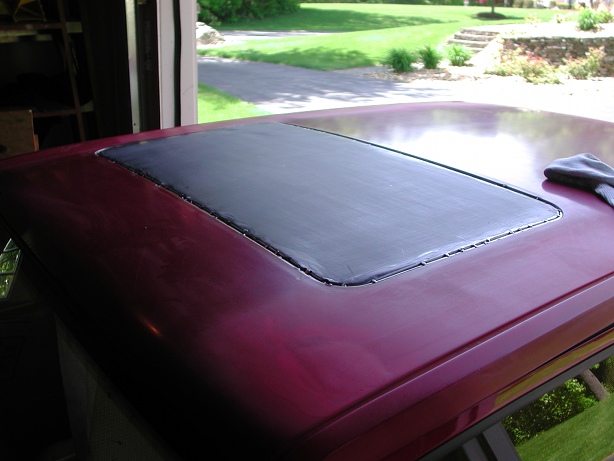
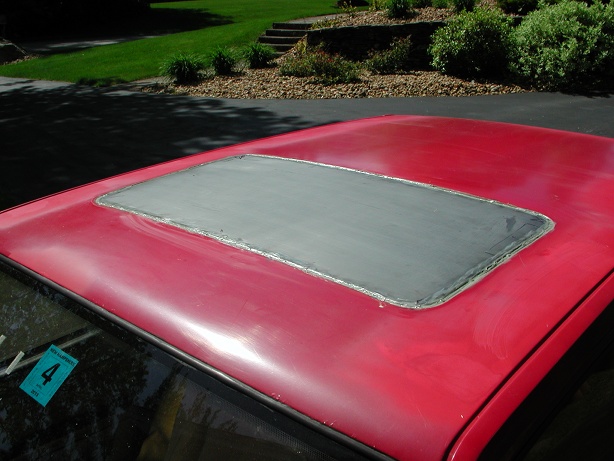
To fill the hole I decided the easiest thing to do was to use the metal panel part of the
sunroof assembly. It is easily removed after pulling a few things apart, sorry I didn't
document that part! I happened to have a spare assembly that I used, just in case this
didn't work out so well (that is why it is gray).
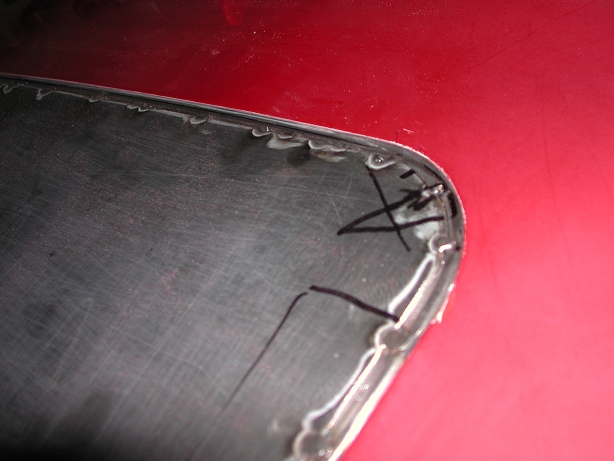
Once you have removed the gasket from this panel you will have a pretty wide gap. I measured
it and found it to be a hair shy of 1/4". I had to find something to fill this gap that would
also give me something good to weld to. After thinking of many possibilities and discarding
them as not doable, Anthony (from the AlfaBB thread mentioned above) mentioned that his
mechanic had used a few pieces of metal rod to hold it in. I then decided the best course of
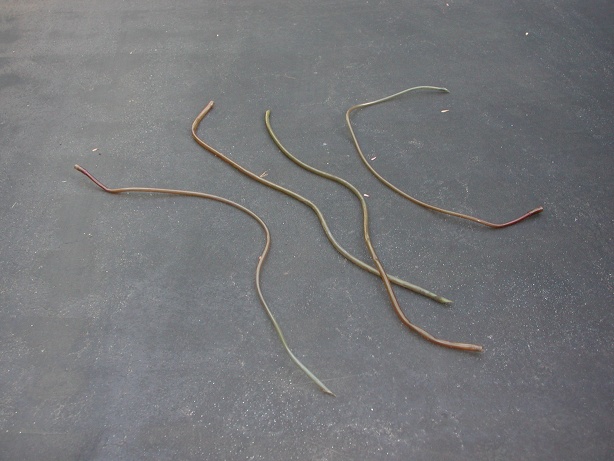
action was to run the rod all the way around. I bought two 6 foot pieces from my local ACE
hardware store and began the process:
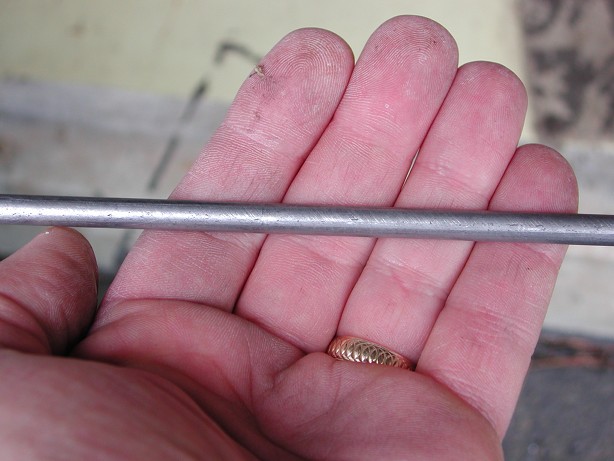
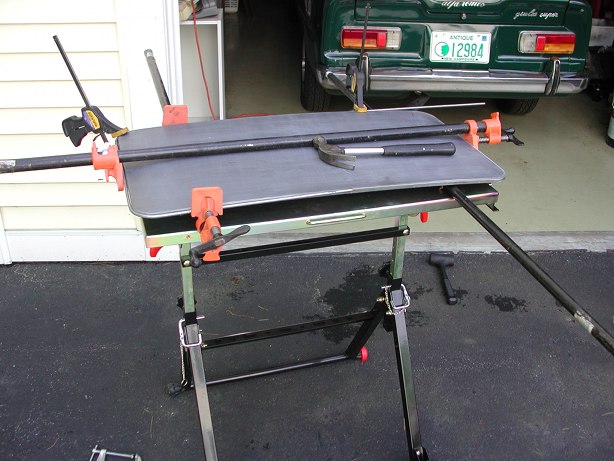
1/4" steel rod, clean this before welding!
Start by bending the rod around the sunroof and holding with clamps. I happend to have quite a few woodworking type clamps which worked well. Try to get the bends as close to the contours of the panel as possible. Also make sure that the rod does not stand proud of the top of the panel or that will make for a lot more work later! I had mine so it was a recessed a bit to give me room to weld without having too much of the weld stand proud.
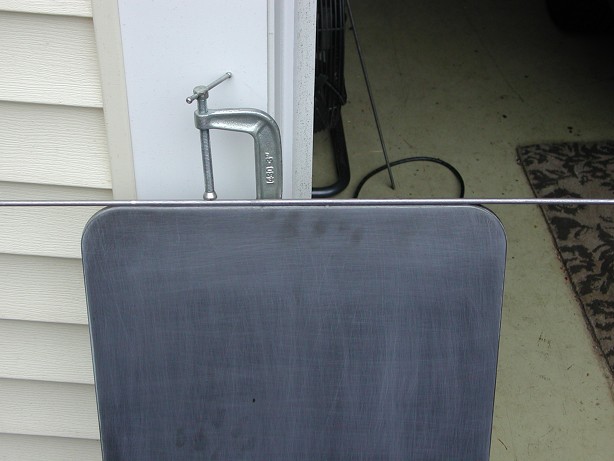
Starting to bend the rod
First rod almost done, note the contour
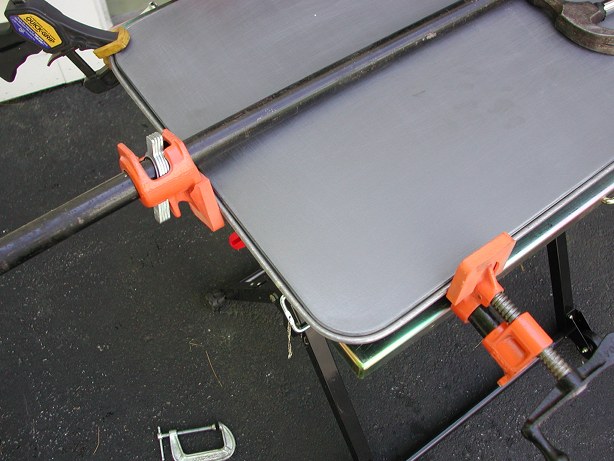
Close up of the corner bends
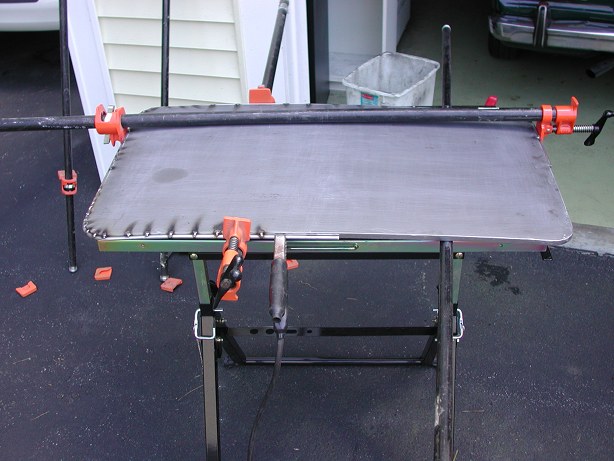
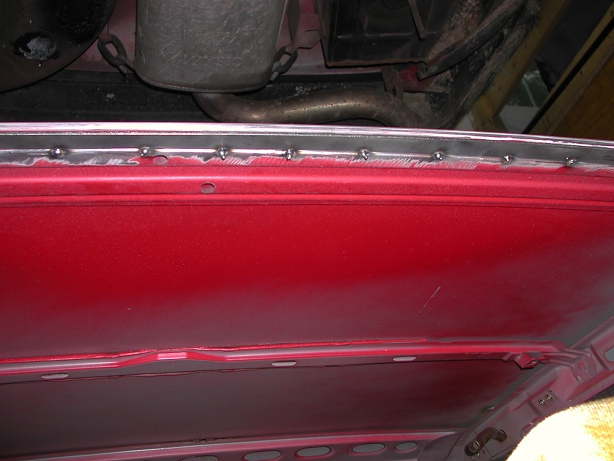
Tack weld the first rod on
Once the first rod is tacked on you'll need to cut the second rod to length and go through the same process for it. Not sure why the panel looks warped in the picture because it wasn't! You do need to be careful when doing your tack welds so not to have that happen though.
The second rod tack welded on
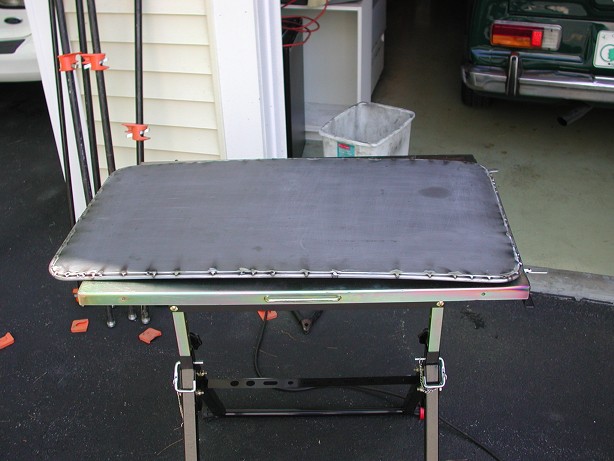
Now time for the first test fit. Remember when I said I measured and the gap was just shy of 1/4"? The overall panel will now be just a little large, but not much:
First test fit, a little too large
Inside view
Before I pulled it out to tweak it with a grinder I put in 4 self tapping screws to hold it up when it actually does fit properly. Make sure to get the screws at the right height so nothing sits proud out top and get them level so there is no rocking action. Be careful, this unit is still fairly heavy and it will hurt if it falls on your head (voice of experience speaking!).
Self tapping screws to hold it up
Here is the fit after some light grinding
At this point it was time to sand the paint off of the sunroof hole edges in prep for welding. First cover the interior with plastic to contain the mess.
Prep for grinding
Here the paint is ground off of the surround. Note in the second picture that there is a much smaller lip, which will make it a lot harder to weld the rear of the sunroof panel on.
Grinding off the paint
Rear lip, MUCH smaller than the other 3!
I needed to make the rear lip thicker so I found that a piece of 1" wide 1/8" thick steel strap fit perfectly on the underside. Here are a few shots showing the strap held on with some clamps and then spot welded on.
In prep for welding I decided to open the welding blanket that I had bought from Harbor Freight some time ago and laid that out across the interior. While this blanket worked fine, what I found out when I took it off is that it left hundreds of fiberglass strands embedded in the fabric of the Recarco seat. Took me a long time, to get them all out so I do not recommend that blanket! Might not be so bad if you put plastic sheet under it.
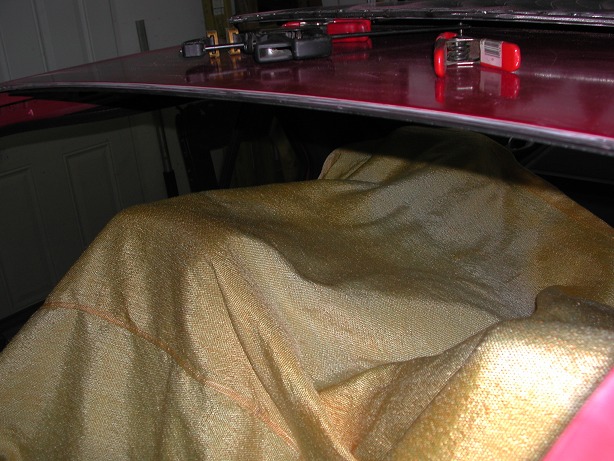
Don't use this Harbor Freight welding blanket without something under it!
The extra steel spot welded in:
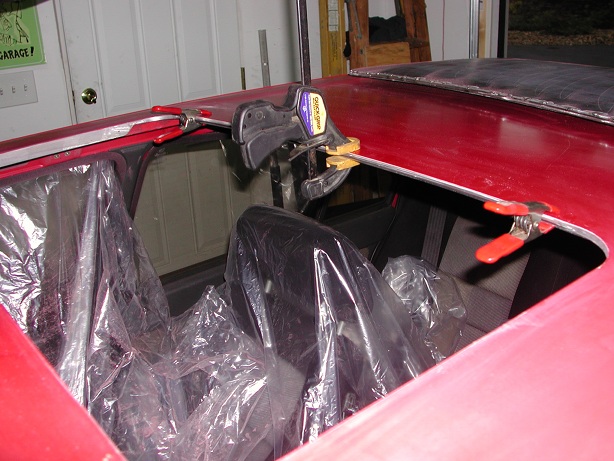
Now it is time to weld the panel in. Need to make sure it is nice and level on all four sides, so I used a couple spring clamps to help tweak it. First I did many trials of fitting it and seeing where the panel needed to be ground down a bit. I would mark that spot with a marker, pull it out, grind it down a bit, fit again, and repeat until I got a fit I liked:
Marking some tight spots prior to grinding
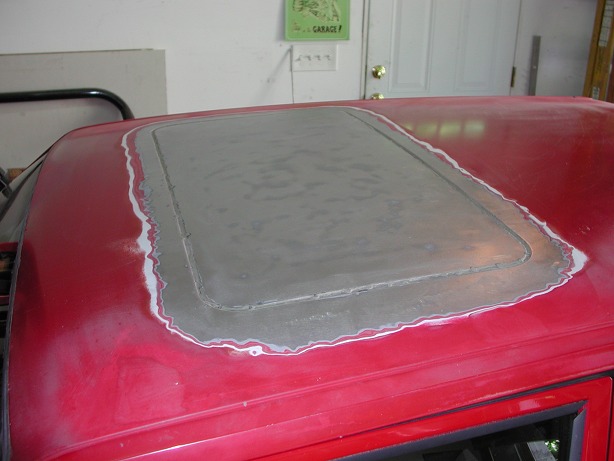
Once I had a fit I was happy with it was time to weld it in for good. To help get it nice and level I used some spring clamps to help hold it higher/lower from beneath. Once I had it exactly where I wanted I tack welded it about every 3 inches around the panel and then ground the tacks down so they were flush with the roofline. I also did some tack welds underneath from inside the car, don't have any pics of those.
Spring clamps to help position the panel prior to welding it in
The panel just about to go in for the last time
Welded in, just tack welds every 3 inches or so, hard to differentiate from the tacks holding the rod on
OK, now that it was tacked in I didn't want to risk warping the roof by welding completely around. In
discussing what his mechanic did with Anthony he said that he used some kind of panel bonding adhesive. This
served two purposes, first to bond the panel securely to the roof, the second benefit was to provide a
waterproof seal.
So after a lot of research on panel bonding adhesive I decided to use the product made by Lord Fusor, sounds
like something out of The Lord of the Rings! This stuff had great reviews and claimed to bond as well as
welding. The downside it that this stuff is not cheap. The specific product I used was
Lord Fusor® 108B/109B Metal Bonding Adhesive (Medium) in the 225ml size which cost about $45 at my
local auto body supply store. That alone isn't too bad but this is a two part tube that requires a
special applicator gun (LORD FUSOR 301 for the 225ml tube) which costs another $35 or so.
The applicator was very easy to use and mixes the two part adhesive well. The adhesive comes out as
a light green color. I put a bead around the entire panel to fill the gap to be as close to level with
the roof as possible and then smoothed it out with my finger (gloved of course). I then ran a bead around
the interior as well for extra strength. In reading the reviews it was suggested to let it dry in
the hot sun for a couple days. Once I did that it dried rock hard. Make sure to have as little as
possible standing proud of the roof as this stuff is hard to sand!
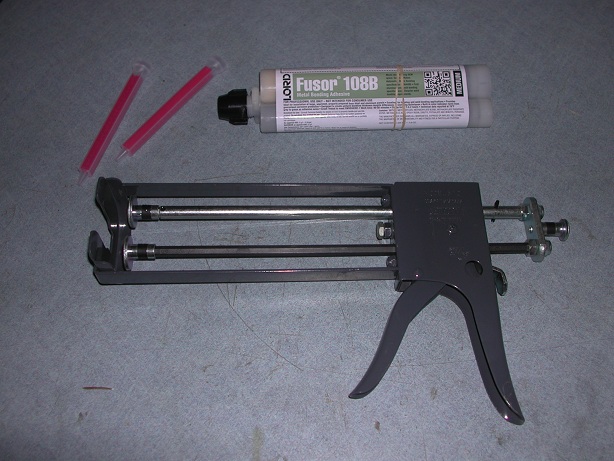
Lord Fusor panel bonding adhesive 108B and applicator gun 301
Adhesive applied
Adhesive applied on the interior
Drying in the sun for a couple days, I also let it sit in the rain for a couple days, no leaks!
Won't be needing those drain hoses anymore so out they go! Filled in the rear holes they came out of with some plastic plugs from ACE.
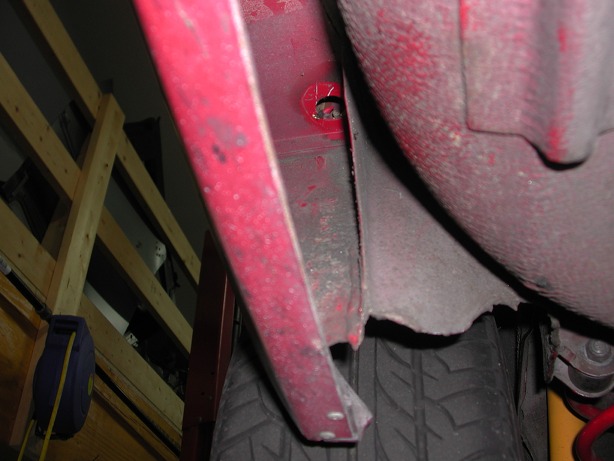
Drain hose hole in the rear
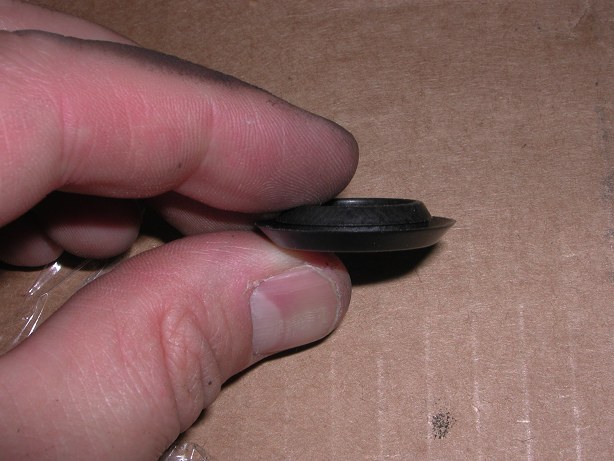
Plastic plug for the rear drain hose hole
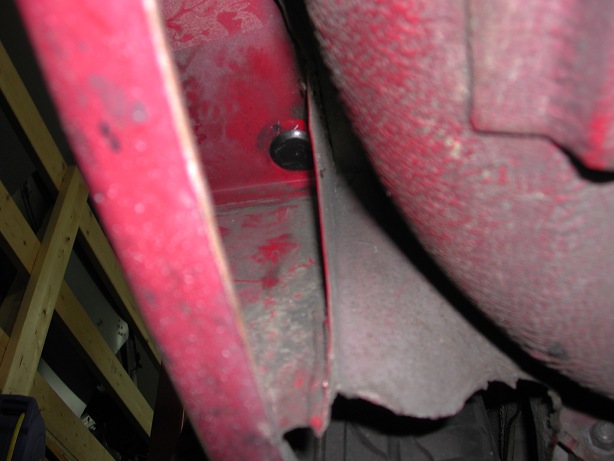
Hole plugged
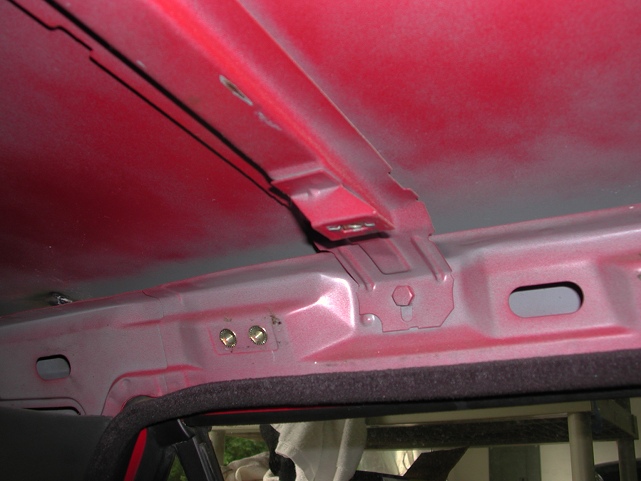
Now it is time to start preparing the interior for the new headliner. First we have to trim off some metal from around the old sunroof hole so the new headliner will fit. You'll need to remove the 3 bolts on each side holding the brackets in at the rear.
Some of the sunroof hole surround metal hangs too low and needs to be cut
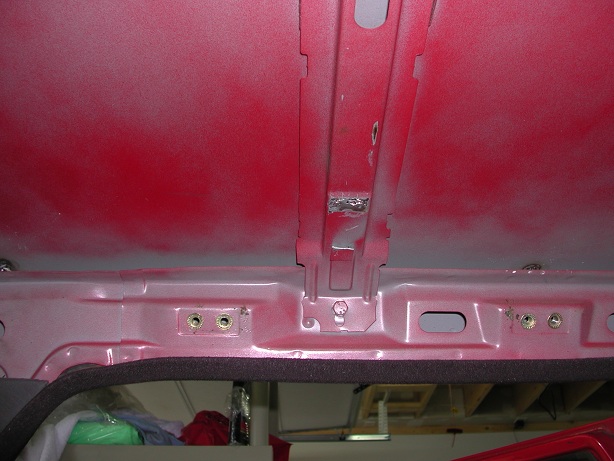
Metal removed, trim the tabs off the sunroof panel too
Now we start putting the h-bracket in that holds up the center of the headliner,
it bolts right in. I shipped mine in three pieces by removing the rivets, so
those had to be replaced. Since mine h-bracket was already apart I chose the leave
the rear part that was already in the car on and just rivet to that. Doing so requires
a little more metal to be cut off of it.
Two of these hanging brackets need to be removed if you are reusing the one on the car
The bracket removed
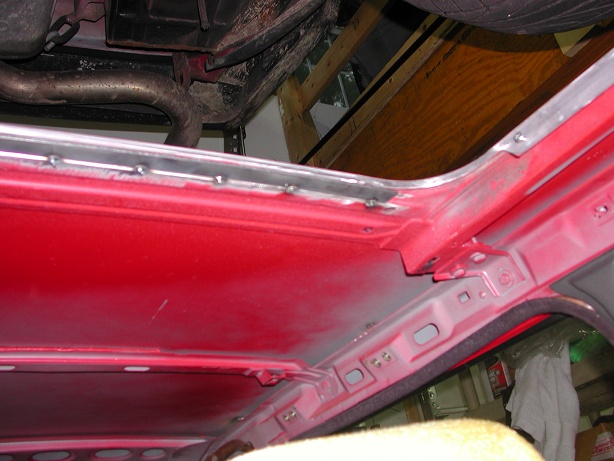
Front bracket this has to be from the one sourced as sunroof cars don't have it.
You can also see all the metal removed from original surround
The other side
Now time to rivet in the center support (assuming you took it apart). I had to use a thick washer with the rivet to get it to work properly.
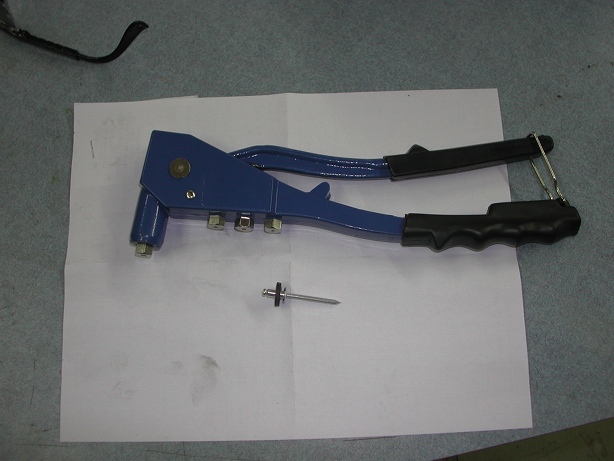
The riveter, you can see the thick plastic washer I used

Riveted on
Here is the sunroof panel getting all the orange dust & goo cleaned off. I won't go into recovering it as I just used the same methods that I did in the headliner refurb project documented on this site a bunch of years ago.

Headliner getting cleaned up in prep to recover
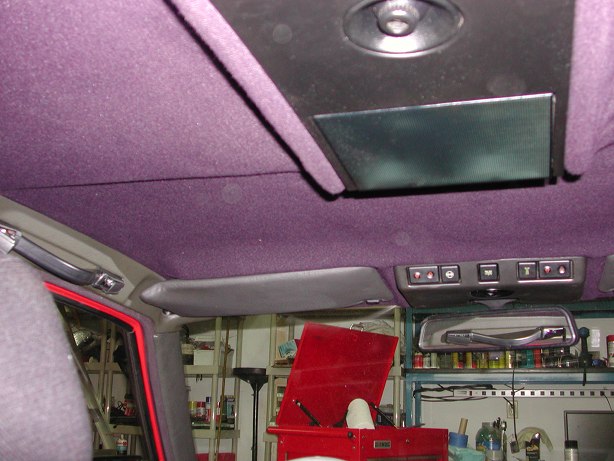
Here are some shots of the recovered headliner installed. Before that was completely buttoned up I had to muck around with the wiring a bit. A couple of the connectors are slightly different so I managed to source them from an old Milano wiring harness I had lying around, pushed the pins out of the connectors that were different on the car and put them into the new connector. Sorry, I apparently didn't take pics or make notes on this part but it isn't that hard if you take your time and know how to use a multimeter.

Now it is time to finish off the exterior with bondo, primer, and paint. This was the first time that I ever did significant bondo work, and I hope the last! Put it on, sand most of it off, put more on, sand most of it off... I'm not very good and it, the results were not perfect so I may eventually redo this part (or get someone to do it for me!) but it is decent enough. I painted it with spray cans of red primer, red paint, and clear from AutomotiveTouchup.com
Sand off more paint around the original hole to be able to feather the bondo
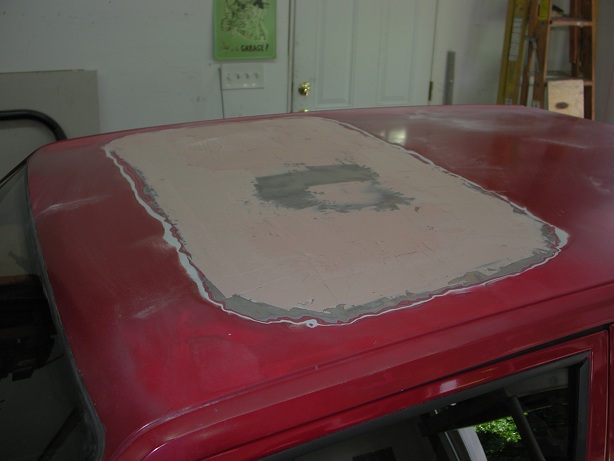
A couple thin layers of bondo waiting to be sanded
Almost ready for primer
In the middle of doing the primer
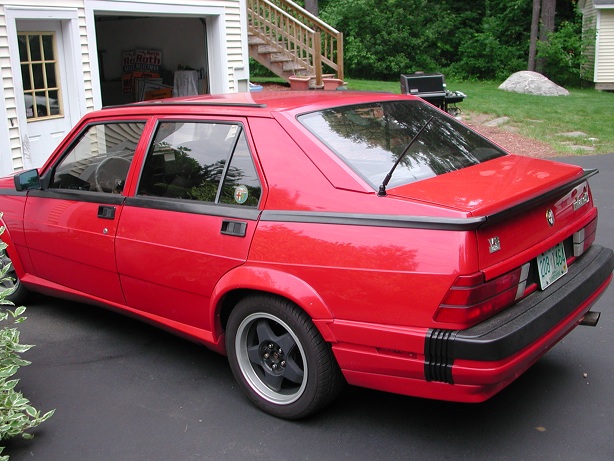
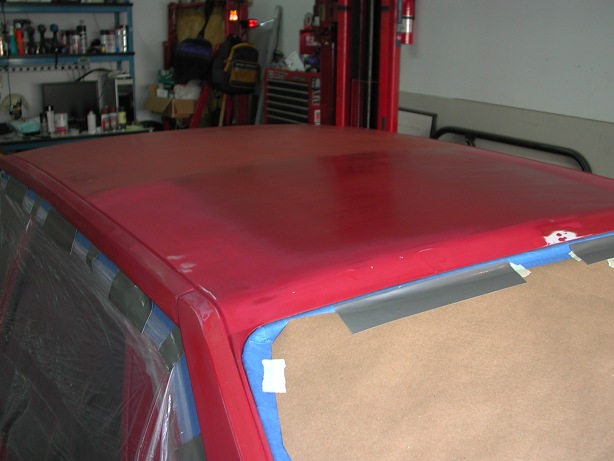
And here is the final result after many coats of primer, paint, and clear. Lots of sanding up to 3000 grit and buffing with two different compounds. I've driven it for over 500 miles so far with no issue. That pesky sunroof is finally gone!